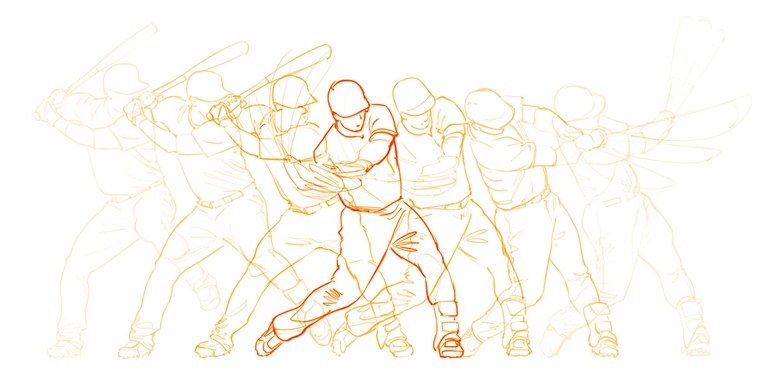
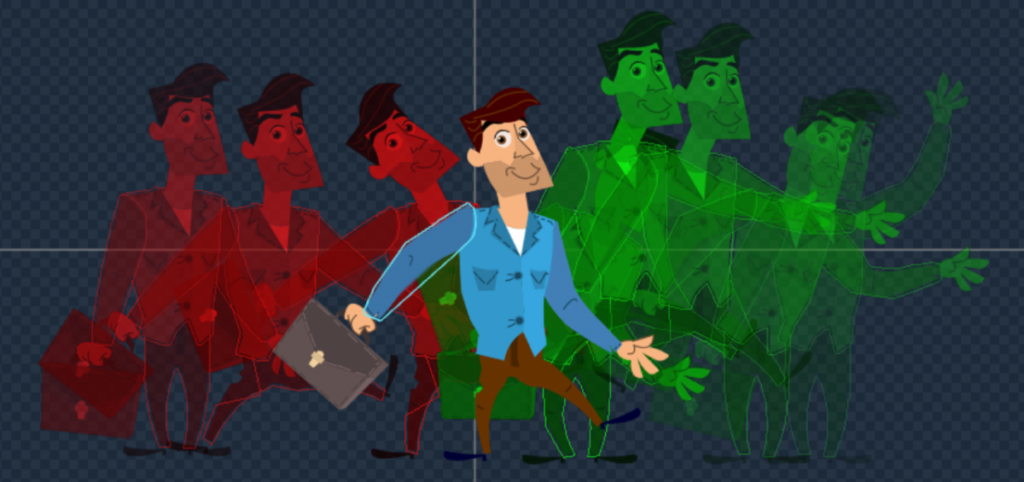
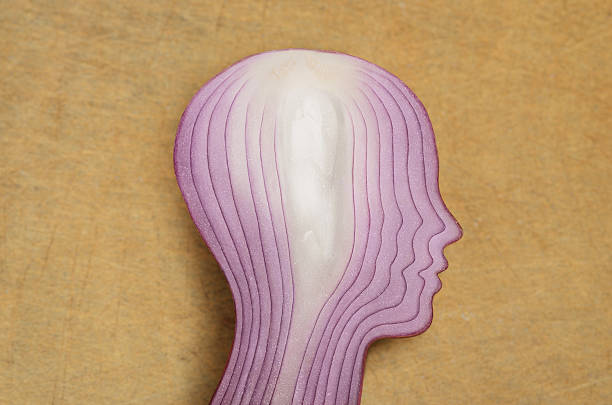
Although onion skinning may sound like something you do in the kitchen while getting your eyes wet. A 2D animation method known as “onion skinning” lets you view multiple frames in animated cartoons at once.
Drawing duplicates are displayed on either side of your current frame in a semi-transparent manner. By using the previous image in the sequence as a guide, the animator can decide how to produce or modify an image.
Alternatively, onion skin enables you to view the frames that came before and after the one you’re currently viewing. To aid you in adding the following components to your animation, they are displayed in a semi-transparent manner.
What does onion skinning look like in animation?

What is onion skinning in animation?
A 2D technique is onion skinning in animation. Traditional animations are created by drawing on incredibly thin sheets and setting them in front of a light source. A visual artist can then compare the keyframe and the in-betweens by looking through the frames.
What is the content of onion skin?
Activating Onion skinning
To turn on or off onion skinning in the editor, tap the timeline’s onion skin button.
Settings
To display more configuration choices, keep the onion skin button depressed.
- Mode
Which onion skins—nearby drawings or neighboring frames—should be displayed?
- Drawings
The onion skin numbers in this mode indicate how many drawings should be exhibited as onion skins before and after the current drawing. Each onion-skinned drawing is only displayed in its initial frame.
This style works best for conventional frame-by-frame animation, in which the details of each drawing remain constant.
- Frames
The onion skin numbers in this mode indicate how many frames should be displayed as onion skins before and after the current frame. This allows you to view numerous frames within a single drawing.
If you plan to animate the contents of your drawings using keyframes, you should probably select this option.
- Order
Controls both the current drawing and the arrangement of the onion skins.
- Behind
The present drawing has onion skin frames behind it. This is the standard.
- Before
Onion-skin frames encircle the present drawing.
- Previous Drawings and Upcoming Drawings
When onion skin animation is enabled, you can specify how many drawings or frames are displayed before and after the current drawing.
- Tint Mode
Controls the coloring of the drawings of onion skin.
- Tinted
The onion skin drawings’ original colors have been changed to a changeable tint color with a lower opacity.
- Authentic Colors
Only their opacity is diminished, and the onion skins display the drawings’ original colors.
- Colors
The tint color for the prior and next designs is fully editable. Aspect onion skins should be tinted, so check that it is set to Tinted.
- Opacity
By default, the further away the onion skin drawings are from the present painting, the less opaque they are. Each onion skin frame’s opacity can be changed using the sliders for opacity.
Obscurity in links
To facilitate adjusting, the opacity sliders are initially linked. If you only want to modify one slider value at a time, you can unlink them using this button.
Setup of Layers
By default, onion skinning animation is switched on for all layers; however, it can be disabled for particular animation layers as needed.
To disable onion skins on a given layer, utilize the inspector or the layer actions.
These layers will display a grayed-out onion skin icon next to their name to highlight that they do not render onion skins.
What is the history of onion skinning?
The origins of the onion skinning process may be traced to the early 1920s, when Disney animators would make each frame of their animations on various transparent sheets, or gels. These early animators devised the technique of “onion skinning” to make sure that each of these individual gels matched up precisely to produce a smooth animation.
The first frame of the animation serves as the beginning point, where the animator sketches the animated character’s outline without coloring it. It is then covered with a second gel. The character is slightly moved into position for frame two of the animated sequence in the second gel, where the animator redrew the animation.
The benefit of this method is that the translucent gels allow you to see where the animation you’re drawing was before you started.
By layering other gels on top of one another, the procedure is repeated. Every gel represents a frame in the animation. They could see the animated character in all of its poses by holding the gels up to the light.
You accomplish something pretty similar when you make a Flickr album.
Disney adopted onion skinning as a method that gave animators a single view of all the various positions needed for animation during a sequence of frames. For the early designers, this helped guarantee the quality of the animation.
What is the importance of onion skin?

Using the onion skinning editing technique, it is possible to examine numerous animation frames at once. In order to create animation using fluid animated motion graphics, the animator must be able to assess whether the lines of each frame are suitably aligned.
As a result, animators were able to place the outlines of their characters and scenes with incredible precision because of onion skinning. They were able to precisely determine where the lines should be placed to indicate natural movement by stacking the subsequent picture on top of the preceding one, which allowed them to see through the semi-transparent material.
Final Words
What is the use of onion skin? You don’t need to work with numerous sheets like early Disney animators did when drawing your animation sequences. Instead of utilizing gels, Flash allows you to create your animation by placing frames along a timeline. Although animation has come a long way since those early days, Flash animators still employ the Disney animators’ onion-skinning method to view and manipulate the location of animated objects as they move through time.


